Cutting Diagram Screen.
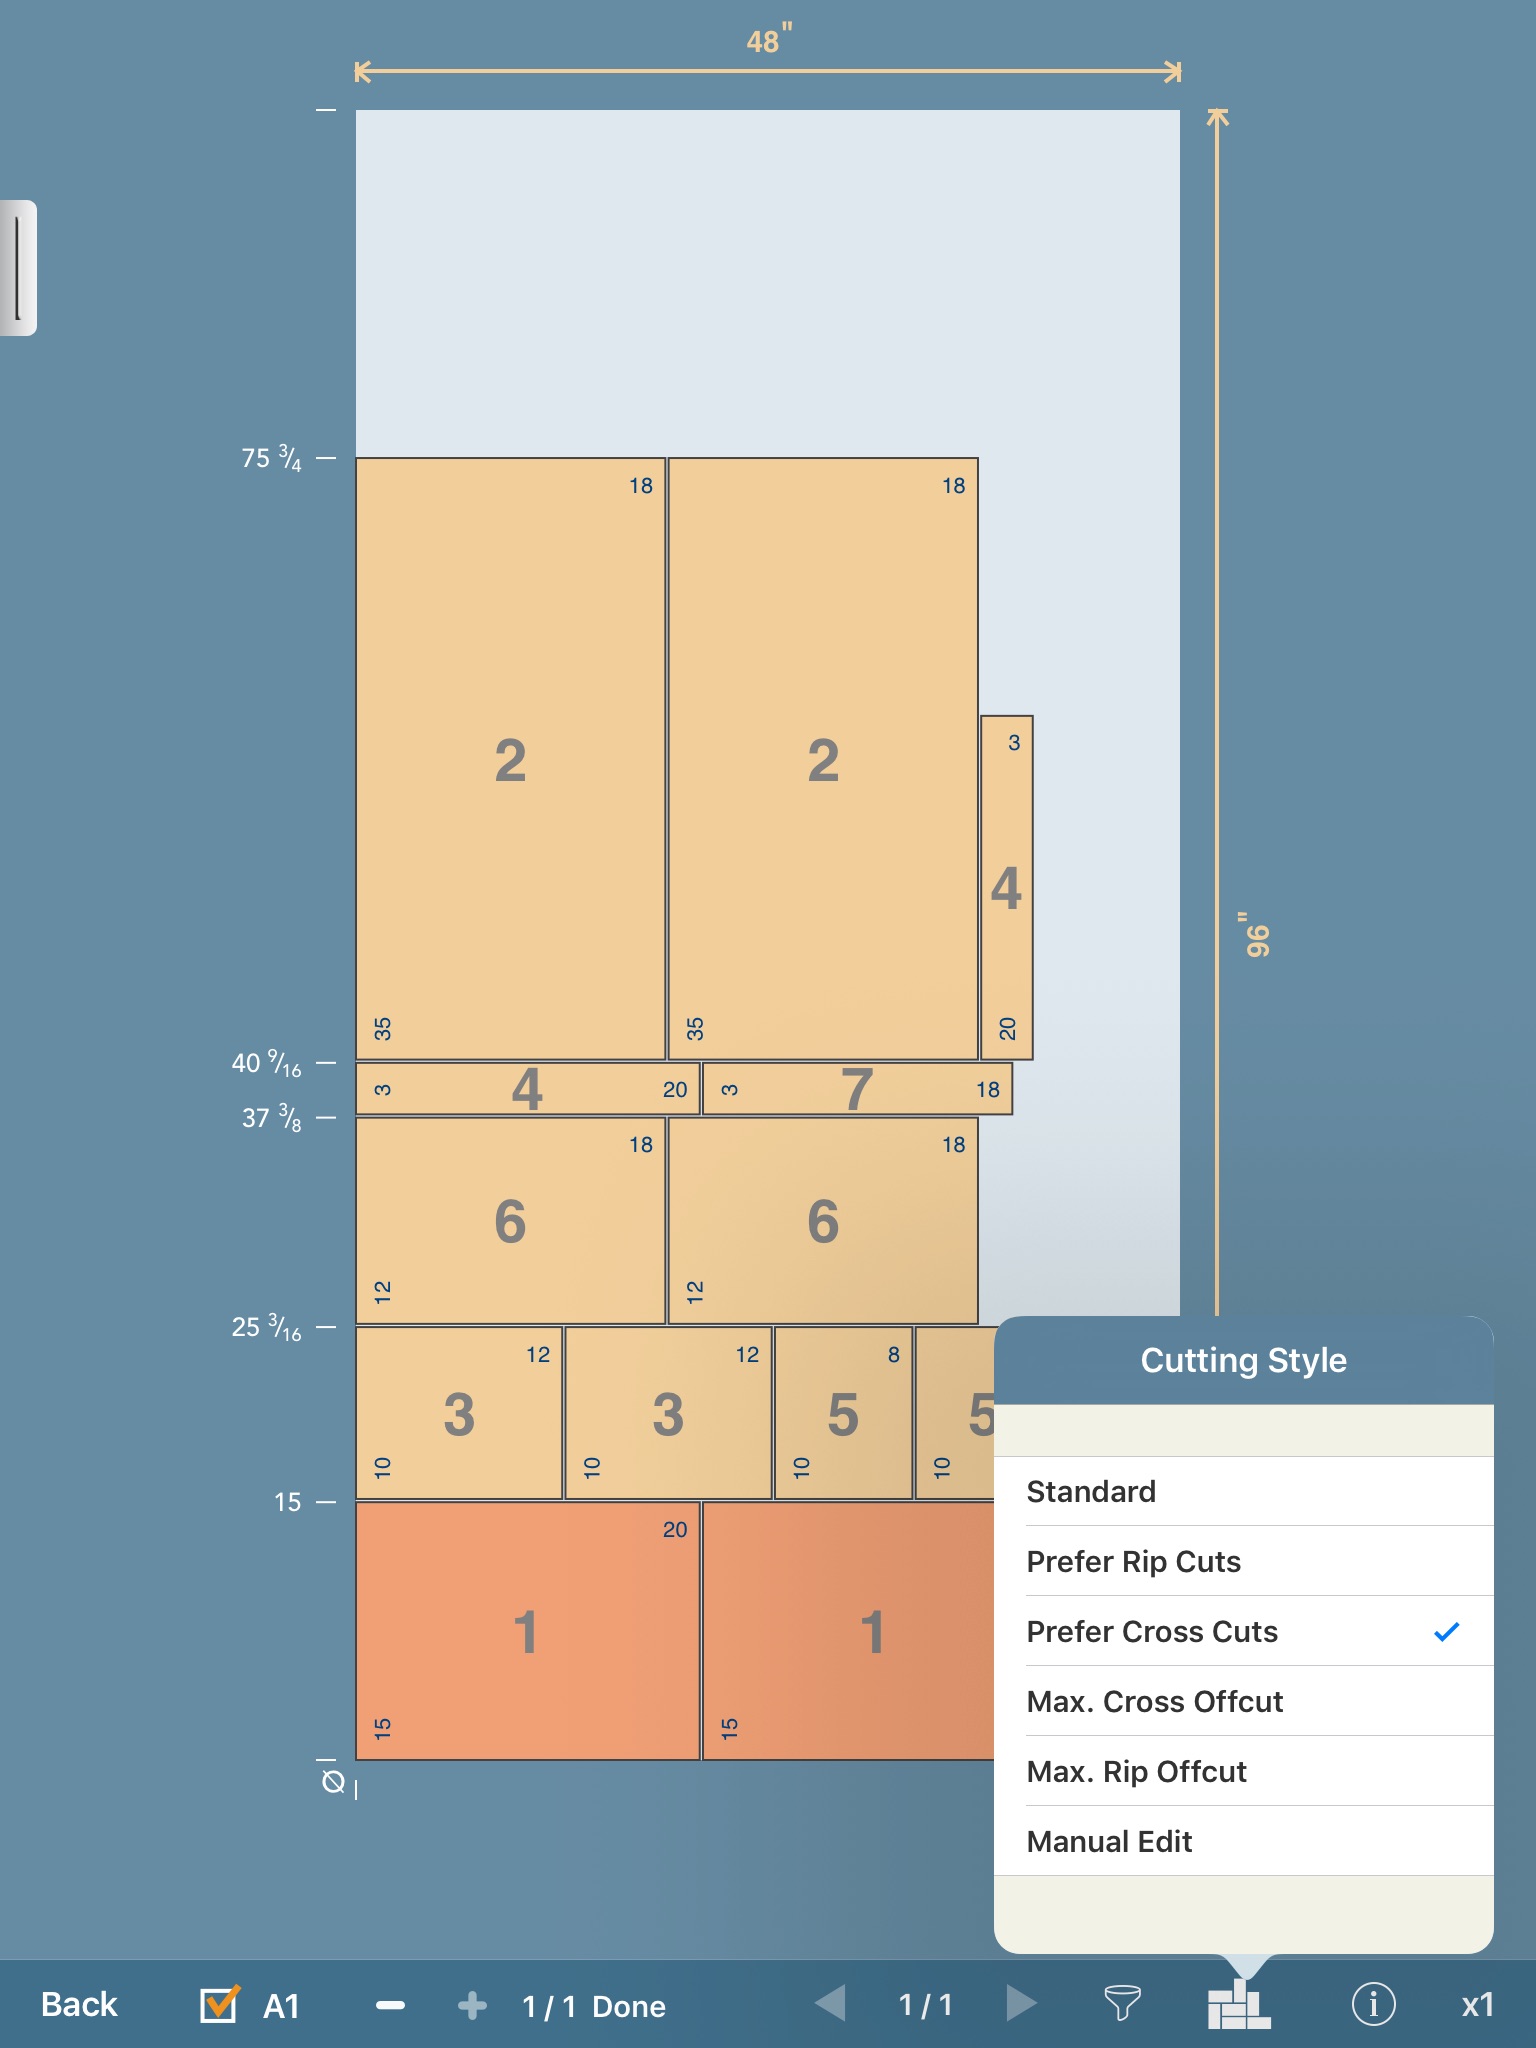
This is the full cutting diagram view. The stock will show grain direction (if appropriate) as well as any stock trim that you have specified.
At the bottom, you see the diagram number ("A1" in this example), a count of the total number of diagrams ("x1" in this case), and a button to select alternate cutting styles, when possible.
The arrow buttons move through the list of diagrams, and the info button brings up the diagram details screen.
Fence settings for initial through-cuts are shown in white. Overall dimensions are yellow. This screen shot shows measurements in inches, but you can switch to metric on the Settings screen.
Tapping the silver tab on the left side will show the Unplaced Parts Bin. You can drag parts from the diagram into the Bin, and drag parts from the Bin onto the diagram.
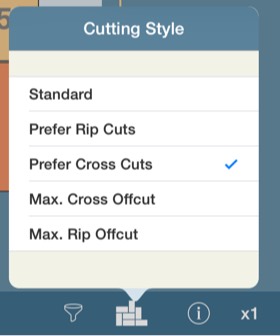
This shows the popup menu where you can choose other cutting styles.
To reposition parts, use a long-press to "grab" them, then drag or rotate as needed. The part will turn green when you have grabbed it for dragging. And, it will automatically snap to nearby kerf lines (shown in red) while you are dragging it.
